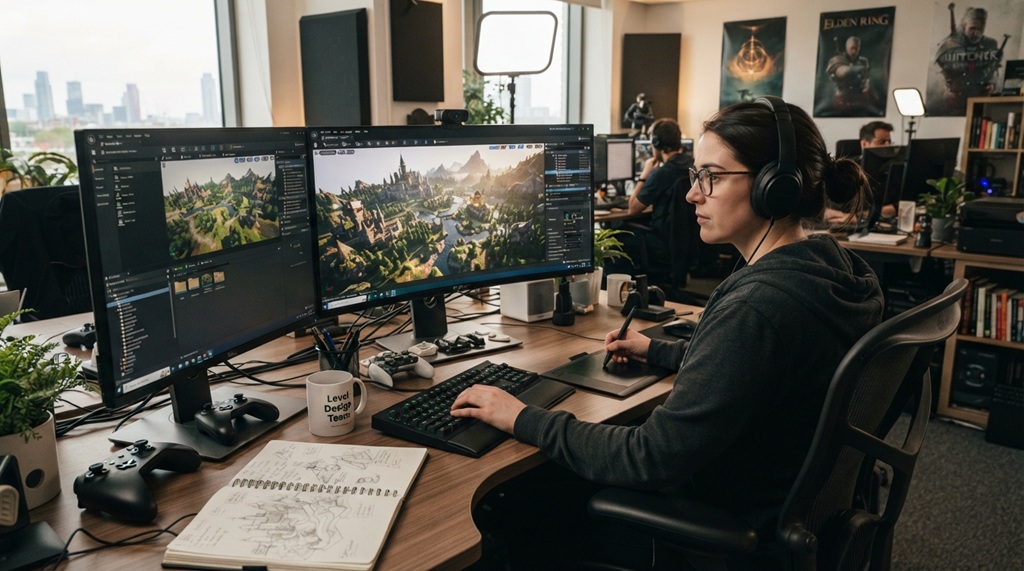
Creating custom game maps starts with three things: a clear layout plan, the right map editor for your game, and an understanding of basic level design rules. Professional designers don’t just place objects randomly. They plan flow, balance difficulty, and test constantly before calling a map finished.
You don’t need a game studio job to build great maps. Many popular games ship free editors. Others support community mod tools built by fans. Either way, the process follows a similar path from idea to playable level.
This guide walks you through that path step by step. You’ll learn how to choose tools, plan your layout, add detail, and avoid the mistakes that trip up beginners.
Choose the Right Map Editor for Your Game
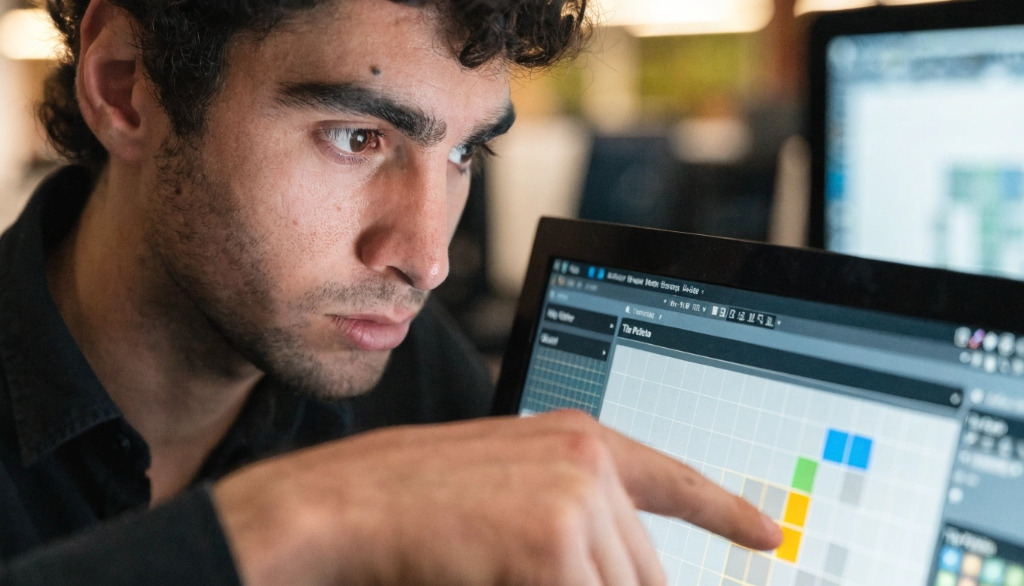
The editor you use depends entirely on which game or engine you’re building for. Some games have built-in editors. Others require separate software or community-made tools.
Built-In Editors
Many games include native map-making tools. Titles like Minecraft, Halo, and Far Cry have shipped official editors for years. These tools are usually the easiest starting point because they match the game’s engine exactly. What you build is what players will see.
Third-Party and Engine-Based Tools
If your target game doesn’t include an editor, you may need engine software like Unreal Editor, Unity, or Hammer (used for Source engine games like Counter-Strike). These tools take longer to learn. They also give you far more creative control over terrain, lighting, and scripted events.
Community Mod Tools
Some games rely entirely on fan-made tools. Check forums, Discord servers, or the Steam Workshop page for your game before assuming no editor exists. Many active communities maintain tools that official developers never released.
Blueprinting Layouts for Balanced Level Design
A successful map relies on intentional structural planning long before you open an editor, as skipping early conceptual sketches is the primary cause of confusing layouts and broken gameplay pacing. Mapping out main routes, objective points, and visual choke points on paper allows you to refine navigation and establish spatial balance before committing to heavy rendering. Furthermore, as you transition from raw blueprints to live engines, learning how to install Skyrim mods safely without crashing your game ensures a stable testing environment when building and validating custom assets.
Sketch the Core Layout First
Draw a rough top-down sketch of your map before opening any software. Mark spawn points, key objectives, and major paths between them. This sketch doesn’t need to be detailed. It just needs to show how players will move through the space.
Think About Flow, Not Just Looks
Professional designers focus on flow first and visuals second. Flow means how players naturally move from one area to another. A map can look stunning and still play badly if players get lost or funnel into the same chokepoint every match.
Balance Distances and Sightlines
Keep travel times between key points roughly even, especially in competitive maps. Uneven distances often give one side or one spawn an unfair advantage. Also check sightlines: long, open corridors favor ranged players, while tight corners favor close combat.
Build the Base Geometry
Once your layout is set, start blocking out the map’s basic shapes before adding any detail. This stage is often called “greyboxing” or “blockout” in the industry.
Use simple cubes, planes, or placeholder shapes to represent walls, floors, and elevation changes. Skip textures and decorations entirely at this stage. The goal is to test whether the layout works in three dimensions, not to make it look finished.
Walk through the blockout yourself. Time how long it takes to reach objectives. Note any spot where movement feels awkward or where a wall blocks a sightline you actually wanted. It’s far easier to fix these problems now than after you’ve added detailed art.
Add Detail, Textures, and Lighting
Detail work turns a blockout into a finished map, but it should always come after the layout is confirmed to work.
Apply Textures With Purpose
Use different textures to guide players intuitively. For example, a bright floor texture near an objective draws the eye there naturally. Consistent texture themes (brick, metal, sand) also help each area of the map feel distinct, which makes navigation easier for new players.
Light for Gameplay, Not Just Mood
Lighting affects visibility and pacing, not just atmosphere. Overly dark corners can hide campers or create unfair ambushes in competitive maps. According to industry experts in level design, lighting should highlight paths and objectives before it serves purely aesthetic goals.
Add Props and Cover Carefully
Every prop you place should serve a gameplay purpose, whether that’s cover, a landmark, or a visual cue. Cluttering a map with decoration for its own sake often confuses players and can even affect performance in engines with weaker optimization.
Test the Map With Real Players
No map is finished until real people have played it, because designers are too familiar with their own layout to spot its problems.
Start with a small group of playtesters who haven’t seen the map before. Watch where they get lost, where they die repeatedly, and which paths they avoid entirely. These reactions reveal issues no amount of solo testing will catch.
Collect feedback after each session and make one round of changes at a time. Testing after every single change, rather than batching several changes together, makes it much easier to tell exactly which fix worked and which one didn’t.
Optimize Performance and File Size
A map that looks great but runs poorly will frustrate players, especially on lower-end hardware. Performance deserves attention before you publish, not after complaints roll in.
Reduce unnecessary polygon counts on background objects players rarely get close to. Combine small decorative meshes where possible instead of leaving dozens of separate objects. Also check your map’s file size against the game’s community norms; an oversized map file can turn away players before they even try it, since it takes longer to download.
Most editors include built-in performance or profiling tools. Use them to catch problem areas, such as sections with too many overlapping light sources or excessive particle effects, before you share the map publicly.
Publish and Share Your Custom Map
Once your map is tested and optimized, it’s ready to reach players. How you publish depends on the game and its community norms.
Most modern games with editor support include a built-in sharing hub, such as the Steam Workshop or an in-game community browser. Upload your map there first, since it’s the most direct route to your target audience. Write a clear, honest description that lists the map type, player count, and any special features.
Share your map on relevant community forums and Discord servers as well. Include a few screenshots or a short gameplay clip. Maps with visual previews get noticeably more downloads than ones with text descriptions alone.
Frequently Asked Questions
What software do I need to create custom game maps?
It depends on the game. Some games, like Minecraft or Halo, include a built-in editor you can use right away. For others, you may need external engine software like Unreal Editor, Unity, or Hammer, depending on which engine the game runs on.
Do I need coding skills to make a custom map?
Basic maps usually don’t require any coding at all, since most editors use visual placement tools. Scripted events, custom game modes, or advanced mechanics, however, often need some scripting knowledge in languages like Lua, C#, or the engine’s own scripting system.
How long does it take to build a good custom map?
A simple map can take a few days, while a detailed, fully tested competitive map often takes several weeks. The biggest time factor isn’t the building itself; it’s the planning and playtesting rounds needed to balance the layout properly.
Why does my custom map feel confusing to play?
This usually means the layout wasn’t planned with player flow in mind before building started. Going back to a simple top-down sketch and checking sightlines, chokepoints, and travel distances often reveals exactly where the confusion comes from.
Can I make money from custom game maps?
Some games and platforms allow creators to monetize maps through workshop programs, tips, or sponsored content. Policies vary widely by game and platform, so check the specific game’s community guidelines before assuming monetization is allowed.
Conclusion
Building custom game maps like a professional comes down to a repeatable process: choose the right editor, plan your layout before building, block out the geometry, add detail with purpose, and test with real players before publishing. Skipping the planning and testing stages is the most common reason custom maps fail to land with players.
Start small with your first map. Focus on getting the layout and flow right before chasing detailed visuals. Every skill you build on a simple map carries directly into your next, more ambitious project.