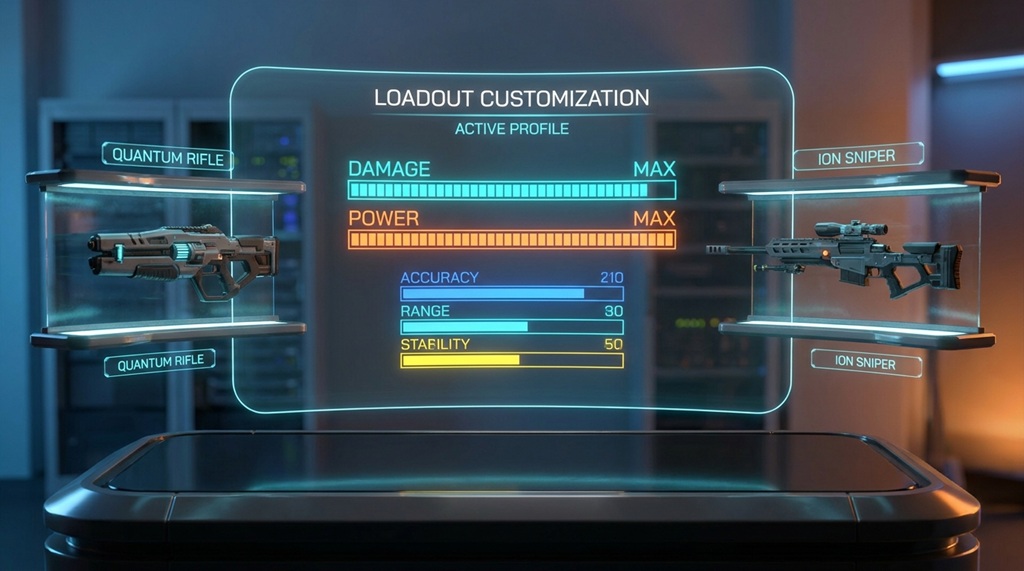
A strong loadout for maximum damage output combines the right weapon, matching attachments, and perks that support your playstyle. Damage output is not about picking the “best” gun on a tier list. It is about picking gear that works together and fits how you actually play.
Many players copy pro loadouts and still underperform. That happens because gear choices only work when they match your range, movement style, and game mode. This guide breaks down each part of a damage-focused loadout, so you can build one that actually fits you.
By the end, you will know how to choose weapons, attachments, secondaries, and perks that raise your damage per second (DPS) without hurting your accuracy or mobility.
What “Damage Output” Actually Means in a Loadout
Damage output is the total damage you deal per second, per magazine, and per engagement, not just a weapon’s base stat. A gun with a high damage number on paper can still underperform if it has poor recoil control or a slow fire rate.
Good loadouts balance three things:
- Raw damage – how much a bullet or hit takes off an enemy’s health
- Consistency – how easily you can land shots under pressure
- Time-to-kill (TTK) – how fast you can down an opponent in a real fight
A weapon with slightly lower damage but better accuracy often wins more fights. This happens because it lands more hits in the same time window. Focus on real performance, not just the numbers on a stat screen.
Choosing the Right Primary Weapon for Your Playstyle
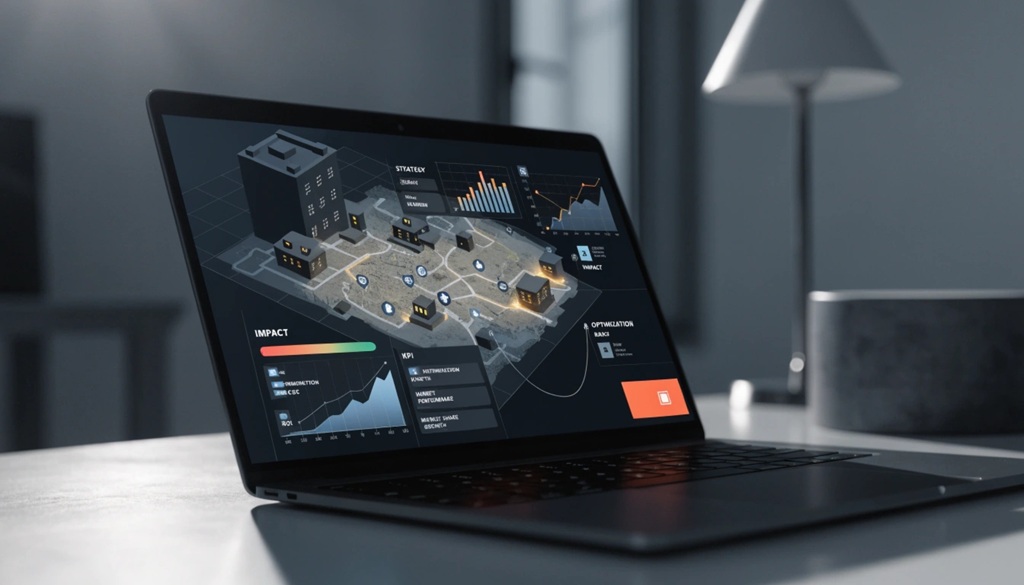
Your primary weapon should match the range you fight at most often, since no single gun performs best at every distance. Trying to force a sniper rifle into close-quarters combat, or a shotgun into long sightlines, will lower your damage output no matter how good your aim is. Maximizing your firepower is only half the battle to win multiplayer matches with smart map ontrol to dominate every match with superior positioning.
Close-Range Weapons
Close-range fights reward fast time-to-kill over raw damage per bullet. SMGs and shotguns usually win here because they fire quickly or hit hard in a single blast.
Look for weapons with:
- Fast fire rate or high pellet count
- Quick ADS (aim-down-sight) speed
- Strong hip-fire accuracy
These traits let you react fast in tight spaces, where fights often end in under a second.
Mid to Long-Range Weapons
Assault rifles and marksman rifles dominate mid-to-long range because they balance damage, range, and control. At these distances, recoil control matters more than raw stopping power.
Prioritize weapons with:
- Low horizontal recoil
- Consistent damage drop-off curves
- Larger magazines for sustained fights
A weapon that stays accurate over multiple shots will out-damage a harder-hitting gun that sprays off-target after the third bullet.
Picking Attachments That Increase Damage and Control
Attachments do not add damage directly in most games, but they let you land more shots, which raises your effective damage output. The right combination reduces recoil, improves handling, and sometimes extends effective range.
A solid damage-focused attachment setup usually includes:
- Muzzle device – improves recoil control or adds slight range
- Barrel – boosts damage range or bullet velocity
- Optic – matches your preferred engagement distance
- Underbarrel or grip – tightens recoil patterns
- Magazine – balances ammo capacity with mobility
Avoid stacking every attachment that promises a damage boost. Some trade-offs hurt more than they help. A longer barrel might extend range but slow your ADS speed, which can cost you close-range duels.
Balancing Your Secondary Weapon and Perks

Your secondary weapon and perks should cover the gaps your primary weapon leaves behind. If your primary excels at range, your secondary should handle close encounters, and vice versa. This combination keeps your damage output high in every situation, not just your preferred one.
For perks, focus on categories that directly support combat performance:
- Damage or penetration perks – help you finish fights faster or shoot through cover
- Mobility perks – let you reposition for better shot angles
- Recon or awareness perks – help you land the first shot, which often decides a fight
The first shot in most engagements matters more than any single stat boost. Perks that help you see or reach the enemy first often improve your effective damage more than raw damage perks alone.
Optimizing Equipment and Ammo Choices
Lethal and tactical equipment can add damage output that your gun alone cannot provide, especially in close-quarters or objective-based fights. Frag grenades, C4, or proximity mines let you damage or eliminate enemies before a direct gunfight even starts.
When ammo types are available, match them to your role:
- Standard rounds for balanced, all-purpose fights
- Armor-piercing or penetrating rounds when enemies use cover often
- Hollow-point or high-damage rounds for close-range burst damage
Small choices like these add up over a full match. A single well-placed grenade can equal several gunfight kills, especially on objective modes where enemies cluster together.
Common Loadout Mistakes That Lower Damage Output
Most damage problems come from mismatched gear, not bad aim, and fixing the mismatch often solves the problem instantly. Here are the most common mistakes players make when building a damage-focused loadout.
- Copying pro loadouts without adjusting for playstyle. A setup built for aggressive rushing will not suit a defensive player, even if the gun itself is strong.
- Overloading recoil control at the cost of mobility. Too many stability attachments can make a weapon feel sluggish in fast fights.
- Ignoring TTK for raw damage numbers. A weapon that “hits harder” but fires slower can lose to a faster, lighter-hitting gun.
- Skipping perks that support target acquisition. Damage means nothing if you cannot find the enemy first.
- Never testing loadouts in real matches. Range or practice mode numbers do not always reflect live combat, where movement and stress change everything.
Fixing even one of these issues can noticeably raise your average damage per match.
Testing and Adjusting Your Loadout in Real Matches
The only way to confirm a loadout works is to test it in live matches, since practice ranges cannot replicate real combat pressure. Track your performance across several matches before deciding whether a loadout is actually strong.
Pay attention to:
- Your average damage per match
- How often you win close-range versus long-range fights
- Whether recoil feels manageable under pressure
- How the loadout performs across different maps or modes
If a loadout feels great in practice but weak in real games, adjust one part at a time. Changing the optic, the muzzle, or the secondary weapon individually helps you pinpoint exactly what is holding your damage output back.
Frequently Asked Questions
What is the best loadout for maximum damage output?
There is no single “best” loadout, because the ideal setup depends on your playstyle, preferred range, and the game you play. A loadout built around fast TTK, controlled recoil, and perks that support your role will consistently perform better than any copied pro setup.
Do attachments actually increase damage in most games?
Most attachments do not add raw damage directly, but they improve accuracy, recoil control, and range, which increases your effective damage output. A weapon that lands more consistent hits will always outperform one with higher stats but poor control.
How many attachments should I use for a damage-focused build?
Most damage-focused builds work best with three to five attachments that support one clear goal, like recoil control or range extension. Adding attachments that pull your build in different directions often lowers performance instead of improving it.
Should I prioritize damage or fire rate when choosing a weapon?
Fire rate usually matters more than raw damage, because a faster time-to-kill wins most close and mid-range fights. High single-shot damage only matters if you can land those shots consistently under pressure.
How often should I change my loadout?
You should review your loadout whenever your performance drops or the game updates weapon balance. Testing small changes every few matches helps you find the right setup without losing track of what actually works.
Conclusion
Building a strong loadout for maximum damage output comes down to three things: choosing a weapon that fits your range, adding attachments that improve consistency, and selecting perks that fill your gear’s weak points. Small, deliberate choices beat copying a random “meta” build every time.
Start with one weapon, test it across several matches, and adjust one part of the loadout at a time. Over time, this process will help you build a setup that boosts your damage output and feels right for how you actually play.